Chapter 4 Cluster Introduction

4.1 Logon instructions
For this workshop we will be using Virtual Network Computing (VNC). Connect to the VNC with a browser by using the webVNC link you were sent.
You will now be in a logged-in Linux VNC desktop with two terminals. You will see something as below (there may be only one terminal which is fine). If you do not see something similar please ask for assistance.
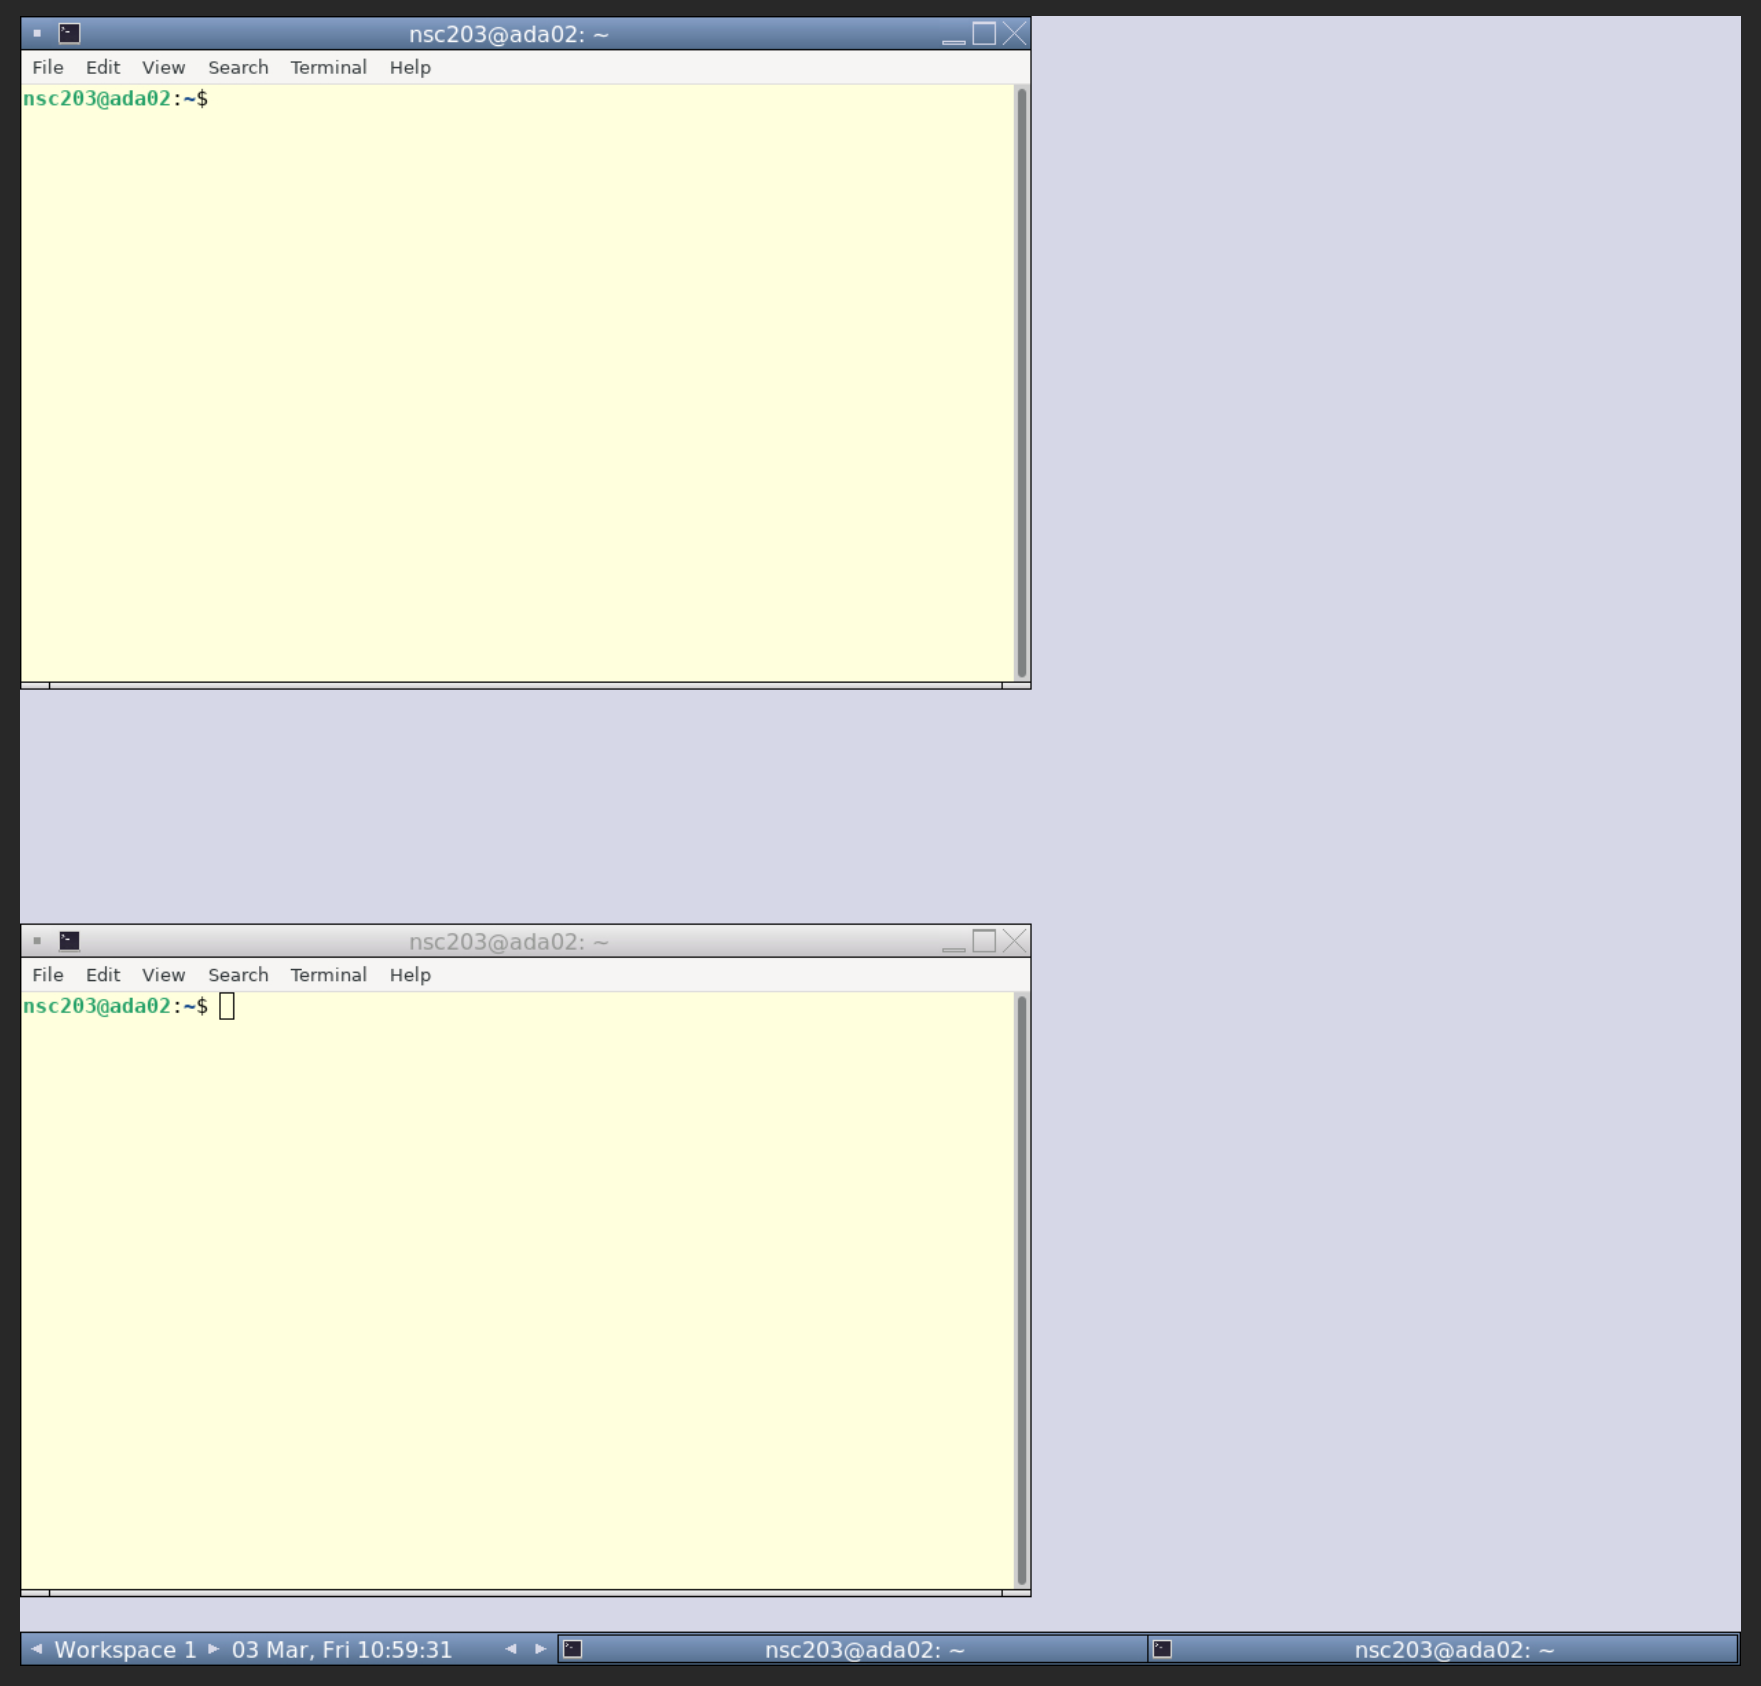
If the VNC is taking up too much/little space of your browser you can press the button "Fit Desktop to Browser". This will automatically adjust the size of the webVNC desktop to your browser window.
These instructions will not work outside of this workshop. If you would like to install your own Linux OS on your desktop or laptop we would recommend Mint Linux
The following link is a guide to install Mint Linux:
https://linuxmint-installation-guide.readthedocs.io/en/latest/
If you have a windows machine and would like to install linux on it you can install Windows Subsystem for Linux (WSL).
The following link is a guide to install linux via (WSL): https://learn.microsoft.com/en-us/windows/wsl/install
4.2 The Terminal Window
In our case the terminal window looks like the picture below. We are using the terminal window as our shell to interpret our commands to the kernel. Depending on your system and preferences it may look different.
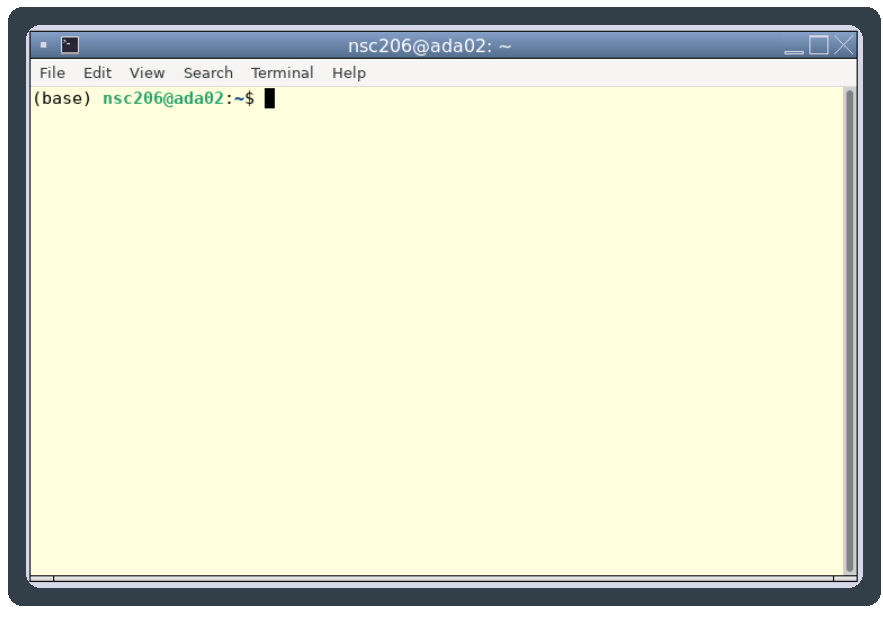
Already there is useful information for us on the terminal window.
- nsc201: This is the login name, also known as the username. In this case nsc201 is a demonstrator's account. Your screen should show a different account name which will be your username for the Linux machine/cluster you are logged into.
- ada02: This is the machine name the user is logged into.
- ~: This represents the current directory of the user, or the directory a command was run in. In the Linux (OS) and others '~' is a shortcut to the user's home directory.
- Everything after the '$' is where commands are typed into the terminal. This is also referred to as the command line.
To open a new terminal window, right click on the main screen, choose Terminal.